

Photoshop Tutorial for Beginners is one of the most powerful and widely used photo editing and graphic design tools in the world. If you’re completely new, don’t worry — this beginner-friendly 2026 guide will walk you through everything step by step.
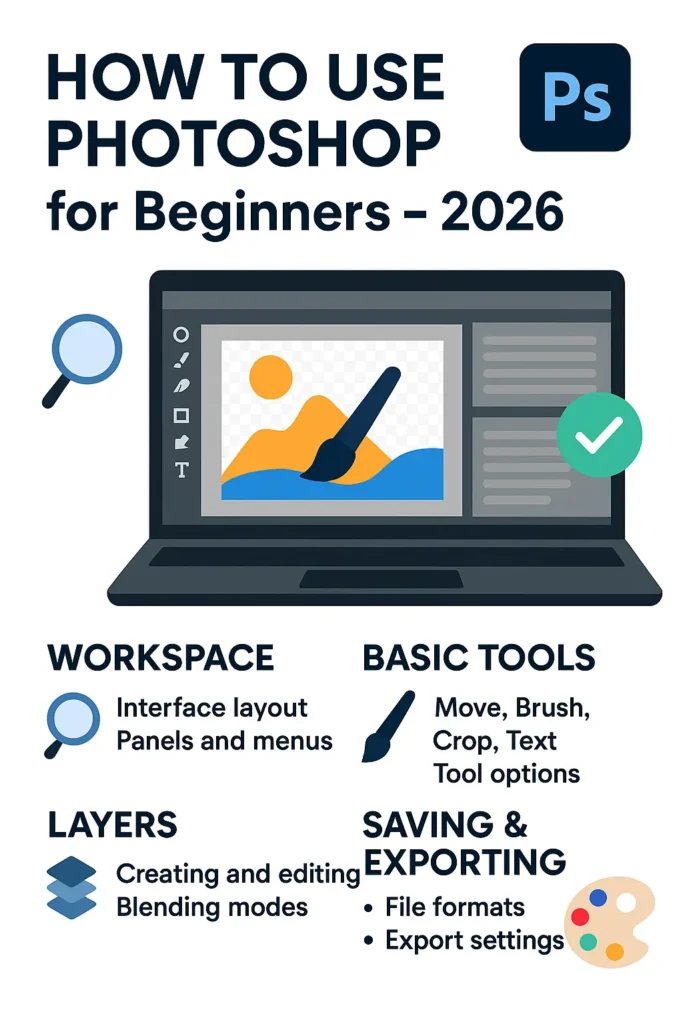
By the end of this tutorial, you’ll understand the interface, tools, layers, editing basics, and how to export your work professionally.
Adobe Photoshop has long been the industry standard for digital image editing, offering a comprehensive suite of tools for photo manipulation, graphic design, and digital painting.
Developed by Adobe Inc., it supports a wide range of file formats and integrates seamlessly with other Adobe Creative Cloud applications like Illustrator and Lightroom.
Whether you’re adjusting exposure in a photograph or creating intricate digital artwork, Photoshop provides layers, masks, brushes, and filters that give users precise control over every element.
For beginners, the interface may seem overwhelming at first, but its logical layout and customizable workspace make it easier to navigate with practice. More information about Photoshop’s features can be found on the official Adobe website.
Getting started with Photoshop begins with understanding the core components of its interface: the toolbar, layers panel, and properties panel. The toolbar houses essential tools such as the Move tool, Selection tools, Crop tool, and Brush tool, each designed for specific editing tasks.
The layers panel is crucial for non-destructive editing, allowing users to stack and manage different elements of an image independently. Beginners should experiment with basic functions like resizing images, adjusting brightness and contrast, and applying simple filters.
Adobe offers a variety of beginner tutorials through its HelpX tutorial portal, which are excellent resources for learning foundational skills.
Completing your first project in Photoshop could be as simple as editing a personal photo or designing a social media graphic. Start by opening an image, making adjustments using adjustment layers (such as levels or hue/saturation), and adding text or shapes if desired. Once satisfied, use the Export As feature under the File menu to save your work in common formats like JPEG, PNG, or PSD.
This ensures compatibility across platforms while preserving layers for future edits when saving as PSD. Remember to save your progress frequently to avoid losing work.
Photoshop continues to evolve with new AI-powered features like Neural Filters and Adobe Sensei technology, which simplify complex tasks such as skin smoothing, sky replacement, and object removal.
These innovations make advanced editing more accessible to beginners while still offering depth for professionals. With regular updates and a vast online community, learning Photoshop is an ongoing journey supported by countless guides, forums, and courses.
To explore official documentation and stay updated on new features, visit Adobe’s Photoshop features page.
Step 1: Photoshop tutorial for beginners
To get started with Adobe Photoshop, locate the application on your computer by navigating to your desktop shortcuts, applications folder (on macOS), or through the Creative Cloud desktop app.
Adobe’s Creative Cloud platform ensures that Photoshop is kept up to date and seamlessly integrated with other Adobe tools. Upon launching, the Home screen serves as a central hub, providing quick access to various features tailored for both beginners and experienced users.
The Home screen displays several key options: creating a new project from scratch, opening recently edited files for continuity, or browsing a curated selection of templates designed for different creative needs such as social media graphics, photo editing, and digital painting.
This interface is intuitive and helps streamline the workflow by reducing the time spent on setup. Users can also explore built-in tutorials offered directly by Adobe, which are excellent for learning essential tools and techniques.
For those new to the software, the guided tutorials on the Home screen provide step-by-step instructions on common tasks like cropping images, using layers, or applying filters.
These resources are hosted on Adobe’s official support site, ensuring reliable and up-to-date information. Whether you’re designing a poster or retouching photos, starting from the Home screen gives you a solid foundation to build upon in Photoshop.

Step 2: Creating a New Project
When starting a new project, clicking on ‘Create New’ initiates the process of setting up a blank document tailored to your specific needs.
A dialog box will appear, allowing you to define essential document properties before you begin designing. This initial setup is crucial for ensuring your project meets the technical requirements of its intended output, whether it’s destined for digital screens or physical print.
You can choose from presets such as ‘Web,’ ‘Print,’ or ‘Mobile,’ which automatically configure settings appropriate for each medium.
For more control, you can customize the dimensions, resolution, color mode, and background content. Resolution is typically set to 72 PPI for web-based projects to balance quality and file size, while print projects generally require 300 PPI for sharp, high-quality output. More information on resolution standards can be found at Adobe’s guide on image resolution.
Color mode is another critical setting: RGB (Red, Green, Blue) is used for designs displayed on screens, offering a broad range of vibrant colors, whereas CMYK (Cyan, Magenta, Yellow, Black) is standard for print materials to ensure accurate color reproduction.
Selecting the correct color mode from the start helps prevent unexpected shifts in appearance when transitioning between digital and physical formats. For further details on color management, visit the International Color Consortium (ICC).
Additionally, you can set the background content to white, transparent, or a custom color depending on your design goals.
Taking the time to properly configure these properties upfront minimizes potential issues later in the workflow and establishes a solid foundation for your creative project.
Step 3: Navigating the Photoshop Interface
When working in Adobe Photoshop, understanding the interface layout is essential for efficient workflow. The Tools panel on the left side of the screen contains all the primary tools you’ll use, such as the Move tool, Brush tool, and Selection tools.
On the right, the Layers panel allows you to manage individual layers, adjust opacity, and apply layer effects—critical for non-destructive editing. Above the canvas, the top menu bar provides access to file operations, filters, and settings, while the central area serves as your workspace or canvas where images are edited and composed.
For a detailed overview of Photoshop’s interface, Adobe’s official guide offers comprehensive insights at Adobe Help Center.
Navigating your project is made easier with the Zoom and Hand tools, both accessible from the Tools panel. The Zoom tool lets you magnify specific areas for precise editing, while the Hand tool allows you to pan across the canvas when zoomed in.
These tools are indispensable when working on high-resolution images or intricate designs. You can also use keyboard shortcuts—Ctrl (Cmd on Mac) with + or – to zoom in and out quickly.
Another important feature is the Options bar located just below the top menu bar. This dynamic toolbar changes contextually depending on the selected tool, offering relevant settings and customization options.
For instance, when using the Brush tool, the Options bar displays brush size, hardness, and mode, enabling real-time adjustments.
Keeping an eye on this bar enhances precision and speeds up editing tasks. More information about tool-specific options can be found on Adobe’s Photoshop features page.
Step 4: Working with Layers and Basic Tools
Layers are essential for non-destructive editing in Adobe Photoshop, allowing users to work on individual elements of an image without altering the original background or other components.
By adding a new layer—simply click the ‘New Layer’ icon at the bottom of the Layers panel—you create a separate canvas where changes can be made independently.
This approach preserves the integrity of your base image and enables easy adjustments, visibility toggling, or reordering of elements at any stage of your project.
Once a new layer is created, you can use various tools to add content. For example, the Brush Tool lets you paint freely with customizable colors, opacities, and brush tips, all confined to that specific layer.
The Text Tool allows you to insert captions, headings, or labels that remain fully editable—font, size, and color can be changed even days later. Similarly, using the Rectangular Marquee Tool to make selections isolates areas for editing, copying, or applying effects without affecting surrounding pixels.
Working with each element on its own layer significantly enhances flexibility and control. If you make a mistake or want to revise a design choice, you can simply hide, delete, or modify that layer without impacting others.
This modular workflow is especially valuable in complex compositions involving graphics, text, and photo enhancements. Professional designers and photographers rely on this method to maintain high-quality, scalable projects.
Adobe continues to refine the Layers panel with intuitive features like layer groups, blending modes, and layer styles, making it easier than ever to organize and enhance your work.
For more detailed guidance on mastering layers, visit the official Adobe Photoshop website, which offers tutorials and best practices used by creative professionals worldwide.
Step 5: Saving and Exporting Your Work
After completing your design in Photoshop, it’s essential to save your work in PSD format to retain all layers, masks, and adjustment settings for future editing.
This native file format ensures maximum flexibility, allowing you to revisit and modify individual elements without losing quality or structure. Always keep a backup of the PSD file before proceeding with exports, as this serves as your master copy throughout the project lifecycle.
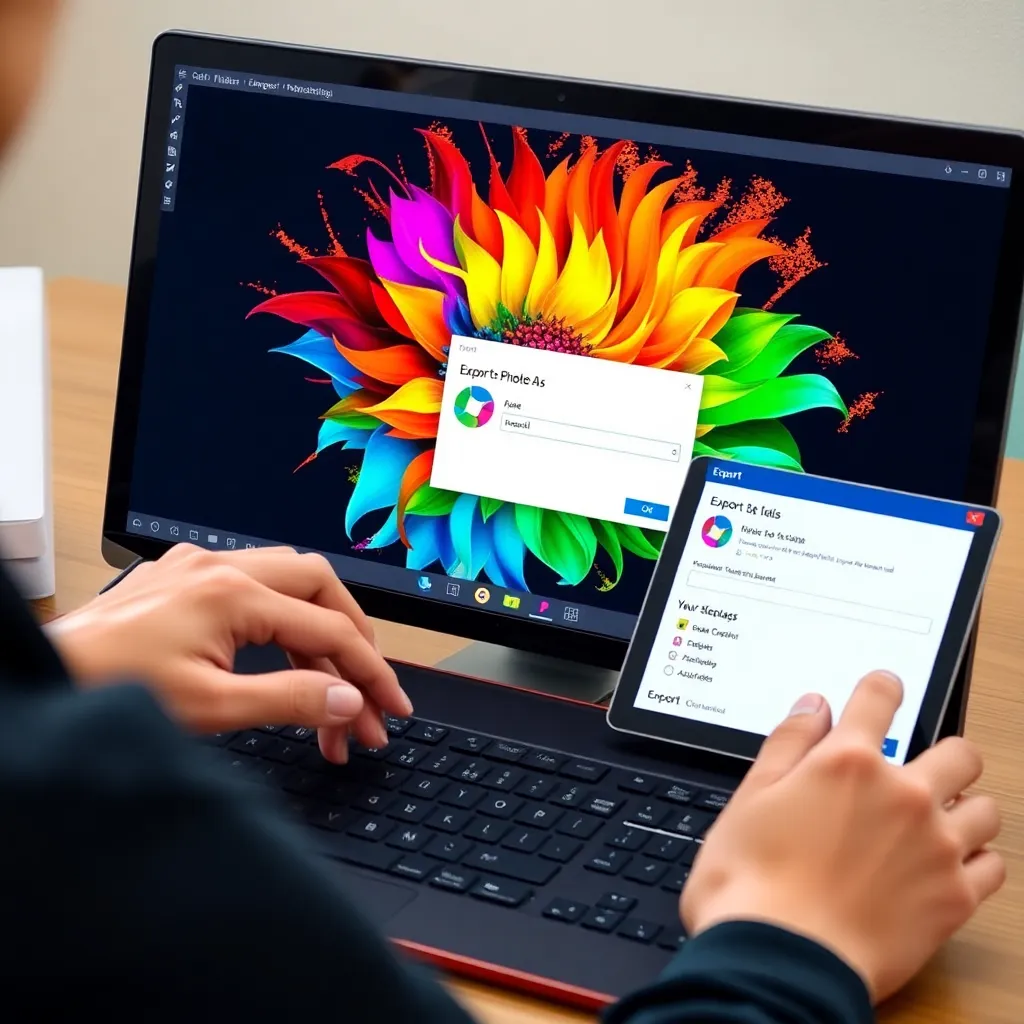
When it’s time to share or publish your design, navigate to File > Export > Export As in Photoshop. This feature provides optimized export settings tailored to different use cases.
For photographs or complex images with gradients, choose JPEG format to balance quality and file size. For graphics requiring transparency—such as logos or icons—opt for PNG format, which supports alpha channels and maintains crisp edges on any background.
Within the Export As dialog, you can adjust quality, resolution, and color profile settings to meet your specific needs.
For web use, a quality setting between 80–100% is typically sufficient, while print projects may require higher resolution and embedded color profiles like sRGB or Adobe RGB. Once configured, click ‘Export’ to generate your final file ready for distribution.
For more detailed guidance on exporting assets in Photoshop, Adobe’s official documentation offers comprehensive tutorials and best practices at Adobe Help Center – Photoshop.
This resource covers advanced export options, batch processing, and format-specific recommendations to ensure professional results across devices and platforms.
Conclusion: Your First Step Into Digital Creativity
Congratulations on taking your first steps into the powerful world of Adobe Photoshop! By successfully opening the application, creating a project, and navigating essential tools like the Move, Brush, and Selection tools, you’ve built a strong foundation.
These core functionalities are the building blocks for more complex design workflows, whether you’re editing photos, creating digital illustrations, or designing web graphics. Familiarity with the interface and toolset will grow with consistent use, making each new project easier and more intuitive.
Exporting your first design is a significant milestone. Understanding formats like JPEG, PNG, and PSD ensures your work is optimized for different uses—be it web publishing, print, or further editing. Adobe’s official Photoshop Help Center offers comprehensive guides on export settings and best practices to maintain image quality and performance.
As you continue exploring, consider experimenting with layers, masks, and adjustment tools to enhance your creative control.
While Photoshop’s learning curve can seem daunting, remember that even expert designers started exactly where you are now.
Regular practice and hands-on experimentation are key to building confidence and skill. Online platforms like Coursera and LinkedIn Learning offer structured courses that guide you from beginner to advanced techniques at your own pace.
The more you engage with the software, the more natural your workflow will become.
Stay curious and embrace the process of trial and error—it’s one of the most effective ways to learn.
Over time, you’ll develop personalized shortcuts, presets, and techniques that streamline your design process. With dedication and creativity, you’ll soon be producing professional-quality visuals that reflect your unique style and vision.