

Canva for Beginners is an intuitive graphic design platform that helps anyone create stunning visuals easily…”
Canva is a versatile graphic design platform that simplifies the creation of visually appealing content for users of all skill levels. With an intuitive drag-and-drop interface, it enables beginners to quickly get started while still offering advanced features that professionals can leverage.
Whether you’re designing social media graphics, presentations, posters, or marketing materials, Canva provides a vast library of customizable templates, stock photos, and fonts to bring your ideas to life.
Its cloud-based nature means you can access your projects from any device, making collaboration and on-the-go editing seamless. Learn more about its capabilities at Canva’s official website.
Getting started with Canva is straightforward—simply sign up using your email, Google, or Apple account. Once registered, you’re greeted with a dashboard that organizes your projects and suggests templates based on your needs.
From there, you can select a design type such as Instagram post, business card, or presentation, and begin customizing. The toolbar offers easy access to elements like text, shapes, animations, and background settings, allowing for quick adjustments.
Users can also upload their own images or choose from millions of free-to-use assets within the platform.
One of Canva’s standout features is its collaborative functionality, enabling teams to work together in real time. You can share designs with colleagues, assign editing or viewing permissions, and leave comments directly on the canvas.
This makes it ideal for remote teams or classroom settings where feedback and iteration are key. Additionally, Canva integrates with popular tools like Google Drive, Dropbox, and Microsoft Teams, streamlining workflow across platforms.
For educators and students, Canva for Education offers specialized tools and templates tailored to academic use, available through Canva’s education portal.
Once your design is complete, sharing it is just as easy as creating it. You can download your project in various formats—including PNG, PDF, and MP4 for animated designs—or generate a shareable link.
Canva also allows direct publishing to social media platforms like Facebook, X (formerly Twitter), and LinkedIn, saving time and effort. With regular updates and new template additions, Canva continues to evolve as a go-to tool for accessible design.
Explore best practices and tutorials on visual communication at Canva’s official blog.
Step 1: Creating Your Canva Account
To begin your design journey, head over to Canva.com and click on the ‘Sign up’ button located at the top right corner of the homepage.
The registration process is quick and user-friendly, offering multiple options to create an account. You can sign up using your email address or streamline the process by registering with your Google account or Facebook profile, which automatically fills in your details and saves time.
Once you’ve completed the registration form, Canva will send a confirmation email to the address you provided. Simply open your inbox, locate the email from Canva, and click on the verification link to confirm your account. This step ensures the security of your account and unlocks full access to the platform’s tools and templates.
After confirming your email, you’ll be redirected to Canva’s intuitive dashboard, which serves as your creative hub. From here, you can start exploring a vast library of design templates, drag-and-drop editing tools, and customizable elements tailored for social media graphics, presentations, posters, and more.
The clean interface makes it easy for beginners and professionals alike to navigate and begin creating stunning visuals in minutes.
For additional guidance on getting started, Canva offers helpful resources through its online learning center, where users can find tutorials and tips to maximize their design potential.
Whether you’re creating for personal projects or professional branding, Canva equips you with the tools needed to bring your ideas to life efficiently and creatively.
Step 2: Navigating the Dashboard
After logging into Canva, you’ll be directed to the dashboard, which serves as your central hub for all design activities. The interface is intuitive, displaying your recent designs front and center, allowing for quick access and seamless continuation of ongoing projects.
Below, you’ll find a variety of template categories—ranging from social media posts to presentations—that cater to diverse design needs.
A prominent search bar at the top enables you to locate specific templates or tools efficiently, making it easier to start exactly what you need without scrolling through endless options.
On the left-hand side of the screen, the sidebar navigation offers organized access to your projects, folders, and brand kits.
This structured layout helps keep your work neatly categorized, especially as your design library grows. Projects can be grouped into custom folders, streamlining collaboration and file management.
Brand kits allow you to store your company’s logos, color palettes, and fonts, ensuring consistency across all designs—an essential feature for businesses and content creators aiming for a professional look.
Taking time to explore and understand the dashboard layout can significantly enhance your workflow efficiency. Familiarity with where tools and assets are located reduces the learning curve and allows you to focus more on creativity rather than navigation.
For further guidance, Canva’s Help Center offers detailed articles and tutorials tailored to both beginners and advanced users.
As you prepare to begin your first project, remember that Canva is designed to simplify the design process without sacrificing quality.
Whether you’re creating a simple graphic or a complex marketing campaign, the dashboard equips you with the tools and structure needed to succeed. For best practices on digital design and visual communication, resources like Smashing Magazine provide valuable insights that complement Canva’s user-friendly environment.
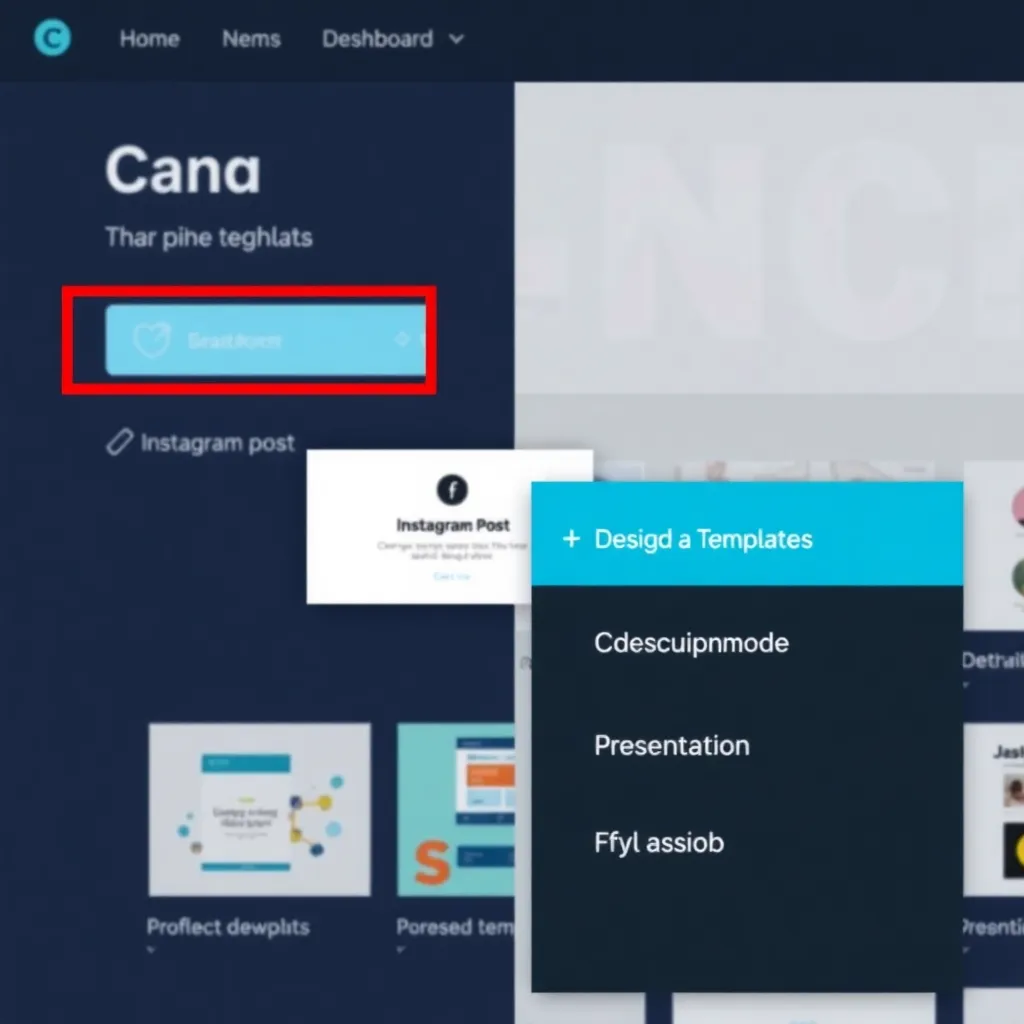
Step 3: Choosing a Design Type
Getting started with a new design in Canva is simple and intuitive. By clicking the ‘+’ button on the homepage, users are presented with a variety of preset dimension options tailored to popular platforms such as Instagram, YouTube, and more.
These templates ensure your designs meet the exact specifications needed for optimal display, helping you avoid common formatting issues.
Whether you’re creating an Instagram post, a YouTube thumbnail, or professional materials like business cards, Canva streamlines the process by organizing templates based on use case.
This allows both beginners and experienced designers to quickly find the right format without needing to manually adjust settings. The platform’s user-friendly interface guides you through each step, making digital design accessible to everyone.
For those with specific requirements, Canva also supports custom dimensions, giving you full control over the size of your canvas.
This flexibility is ideal for unique projects that don’t fit standard formats, such as event banners, custom print materials, or niche social media content. You can enter precise width and height values to match your project’s needs.
Selecting the correct format from the start ensures your design workflow is efficient and effective. By matching your goal—whether it’s social media engagement, branding, or marketing—you set a strong foundation for a polished final product. Learn more about Canva’s design tools and templates at Canva.com.
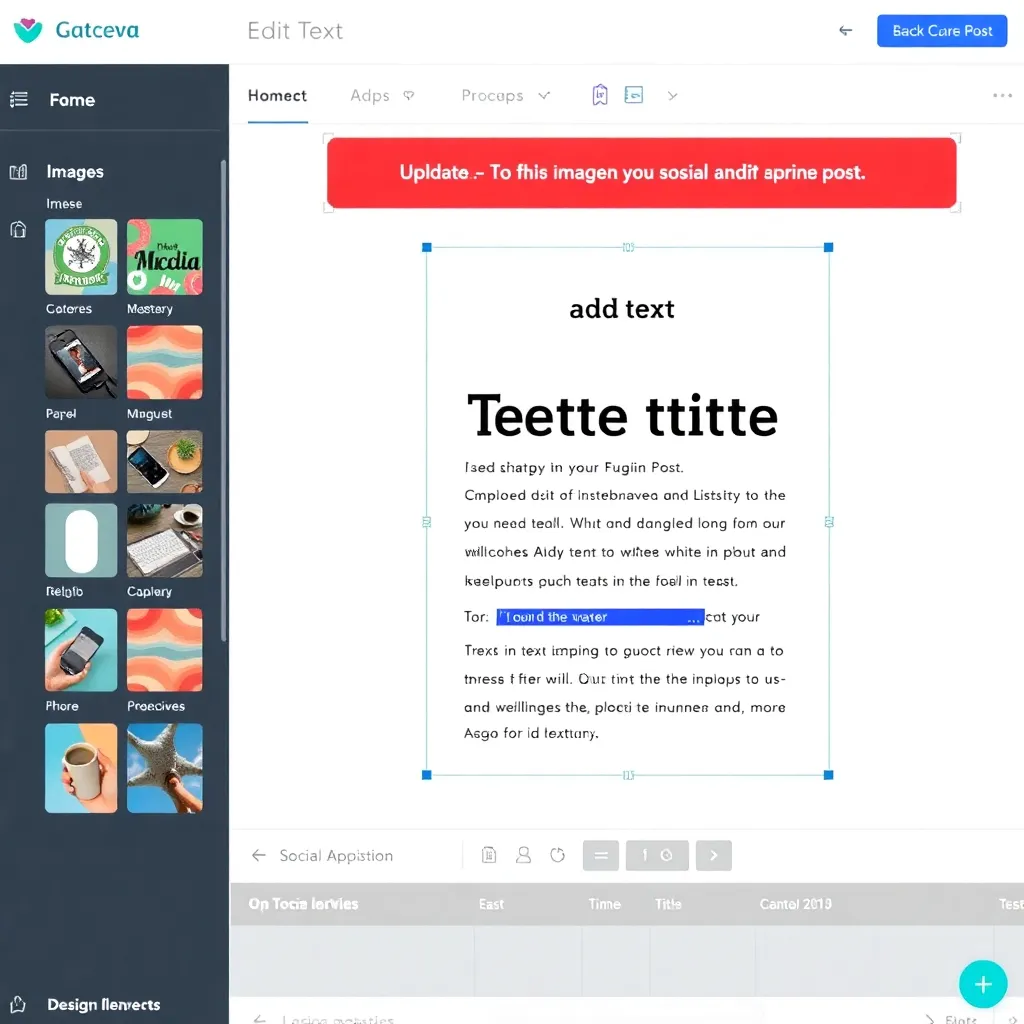
Step 4: Customizing Your Design
Once you’ve chosen a template, the design editor becomes your creative playground. With an intuitive drag-and-drop interface, adjusting layout elements is seamless—simply click, hold, and position components exactly where you want them.
Whether it’s repositioning text boxes, resizing images, or aligning buttons, every action feels responsive and natural, making design accessible even for beginners. The real-time preview ensures that changes are instantly visible, helping you craft a polished look without guesswork.
Customization goes beyond placement. Use the comprehensive color picker to match your brand’s palette or explore harmonious schemes with built-in tools.
Text editing is straightforward: change fonts, adjust sizes, apply bold or italic styling, and even set hyperlink destinations with ease.
For imagery, you can upload high-resolution files directly from your device or tap into the platform’s integrated media library, which includes royalty-free photos and vector graphics suitable for professional use. Adobe Stock and Unsplash are great sources for such visuals, offering extensive collections here.
The left-hand panel acts as your command center, organizing assets into clear categories like templates, icons, illustrations, and photos.
This streamlined navigation allows for quick swaps and experimentation—try a different icon set or overlay a custom illustration in seconds. All elements are designed to be non-destructive, meaning you can revert changes anytime without losing quality. This flexibility encourages creative exploration without the fear of making irreversible mistakes.
With just a few clicks, every aspect of your design can be tailored to your vision. Whether you’re building a social media graphic, a presentation slide, or a marketing flyer, the combination of powerful tools and user-friendly controls ensures efficiency and precision.
For more advanced features and tips on maximizing the editor’s potential, visiting authoritative resources like Canva Design School can provide valuable insights.
Step 5: Saving and Sharing Your Design
Once you’ve finalized your design, it’s easy to share your work with the world. Simply click the ‘Share’ button located in the top-right corner of the interface to access a variety of export options.
Whether you need a high-quality image for presentations or social media, you can download your creation as a PNG or JPG file. For documents requiring higher resolution or print-ready formats, the PDF option ensures your design maintains its quality across different platforms.
Besides downloading, you can share your design directly to popular social media platforms, send it via email, or generate a shareable link for collaborators and clients.
This flexibility makes it simple to integrate your work into broader workflows or get feedback quickly. Platforms like Canva and Adobe Express offer similar sharing capabilities, emphasizing the importance of seamless distribution in modern design tools.
Your work is automatically saved to your projects, so you don’t have to worry about losing progress. This feature allows you to return at any time to make edits, update content, or repurpose your design for new uses. Cloud-based saving ensures accessibility across devices, giving you the freedom to work from anywhere while maintaining version control.
By combining intuitive sharing options with automatic cloud storage, these tools support both collaboration and continuity.
Whether you’re a professional designer or creating visuals for personal use, having reliable export and save functions streamlines the entire creative process. Always remember to review your design before sharing to ensure clarity, accuracy, and visual impact.
Conclusion: Start Designing with Confidence
Canva has revolutionized the world of graphic design by offering an intuitive platform that caters to users of all skill levels.
Whether you’re designing a social media post, a presentation, or a flyer, Canva’s drag-and-drop interface simplifies the creative process. Its vast library of templates, fonts, and images allows beginners to produce polished designs quickly, while still offering advanced features for more experienced users.
For those just getting started, Canva Learn provides helpful tutorials to build foundational design knowledge.
Setting up a Canva account is quick and straightforward—simply sign up with an email, Google, or Facebook account. Once inside, users are greeted with a dashboard that organizes projects and templates by category, making navigation seamless.
Selecting a template as a starting point can significantly reduce design time, and customization is as easy as clicking on text or image placeholders to replace them with your own content.
This low barrier to entry empowers anyone to create visually compelling graphics without prior design experience.
One of Canva’s greatest strengths lies in its collaborative features, allowing teams to work together in real time. Users can share designs with colleagues, leave comments, and co-edit projects, making it ideal for remote teams or classroom settings. Additionally, Canva integrates with popular tools like Google Drive, Dropbox, and Microsoft Teams, enhancing workflow efficiency. More information about integrations can be found on Canva’s official integrations page.
The key to mastering Canva is exploration. By experimenting with different layouts, color schemes, and graphic elements, users develop a personal style and grow more confident in their design choices.
With regular updates and new features—such as animated elements and AI-powered design suggestions—Canva continues to evolve as a leading tool in digital creativity.
Most importantly, the platform encourages fun and self-expression, proving that professional-quality design doesn’t require years of training.