

Learn how to use CapCut in 2026 with this step-by-step guide. From basic editing to advanced effects, music, text, and exporting – create stunning videos easily!
Editing videos on your phone doesn’t have to be complicated, and apps like CapCut have made it incredibly simple for beginners.
With an intuitive interface and powerful editing tools, CapCut allows you to trim clips, add transitions, apply filters, and include music—all from your smartphone.
Whether you’re putting together a quick TikTok or sprucing up vacation footage, the app guides you through each step without overwhelming you with options.
To get started, simply import your video clip into CapCut by selecting it from your camera roll. From there, you can split or trim the footage to remove unwanted sections.
The timeline view makes it easy to see exactly where edits are happening, and snapping tools help align cuts precisely. You can also adjust playback speed, which is great for creating dramatic slow-motion effects or fast-paced montages.
Next, enhance your video with built-in features like text overlays, stickers, and transitions. CapCut offers a wide range of stylish fonts and animation effects that can elevate your content’s look. Don’t forget to add music—either from your own library or from CapCut’s extensive collection of royalty-free tracks.
According to Digital Trends, using the right soundtrack can significantly boost viewer engagement on social platforms.
Once you’re satisfied with your edits, preview the final version and make any last tweaks. When everything looks good, export the video in high quality directly to your phone or share it straight to Instagram, YouTube, or TikTok.
With just a few taps, you’ve transformed a raw clip into a polished piece of content ready for the world to see. For more tips on mobile video editing, check out resources from Creative Bloq, which regularly covers beginner-friendly techniques.
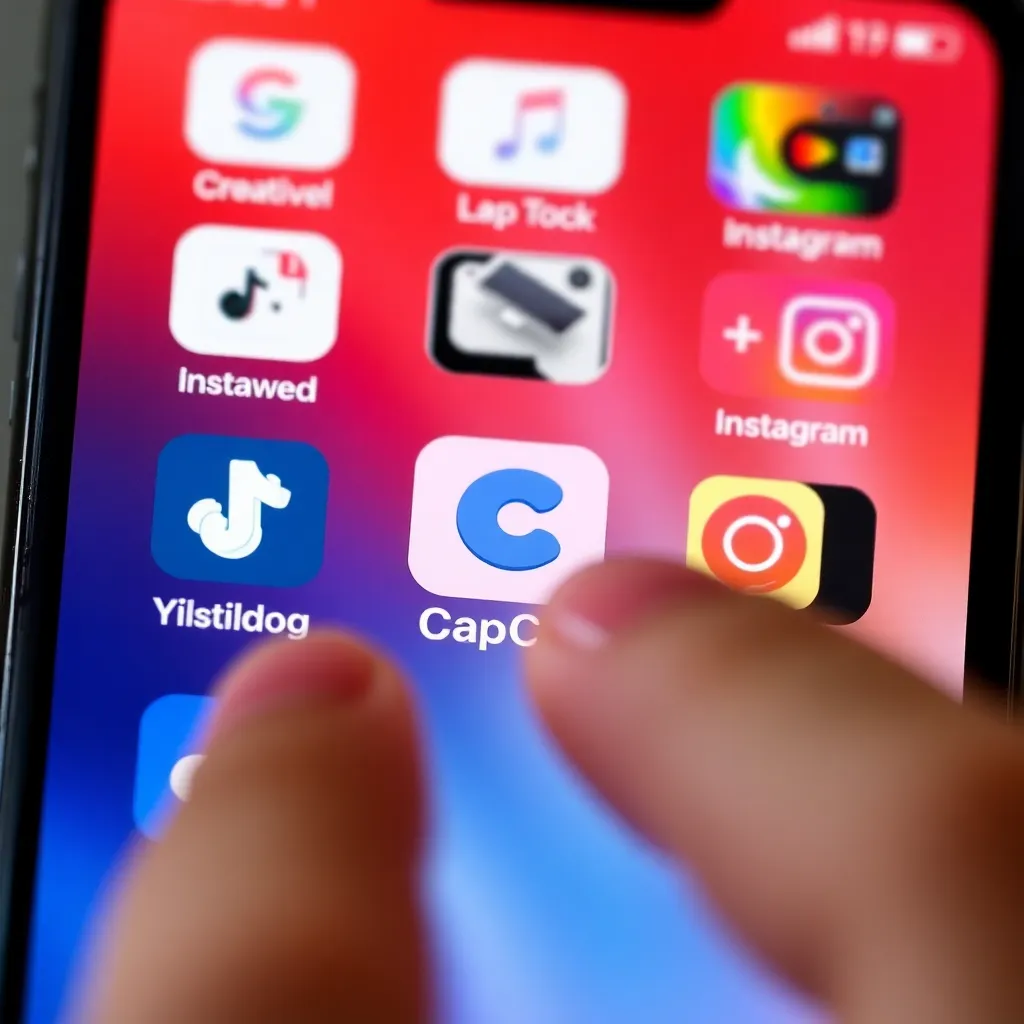
Step 1: Download and Open CapCut
Getting started with CapCut is as simple as downloading the app from the App Store for iPhone users or the Google Play Store for Android devices.
The app is free to download and regularly updated, ensuring access to the latest video editing tools without any upfront cost. Once the download completes, just tap the icon to launch CapCut and begin your creative journey.
Upon opening the app, you’re welcomed by a sleek, user-friendly interface designed to make video editing approachable for everyone—from beginners to more experienced creators.
Right away, you’ll see clear options to either start a new project from scratch or browse through a variety of professionally designed templates that can jumpstart your content creation.
These templates are especially helpful if you’re short on time or looking for inspiration, covering styles suited for social media platforms like TikTok, Instagram, and YouTube.
Whether you want to create dynamic montages, voiceover videos, or trendy clips with effects, CapCut’s intuitive layout makes it easy to navigate your way to polished results in minutes.
Step 2: Create a New Project
Getting started with your video project is simple—just tap on ‘New Project’ to begin. From there, you’ll be prompted to browse your gallery and select the video clips you’d like to include.
Whether you’re piecing together a travel montage or compiling highlights from an event, the app lets you preview each clip before making your choices.
You’re not limited to just one video; feel free to select multiple clips to combine into a seamless sequence. This flexibility allows for creative storytelling and dynamic editing right from your mobile device.
Once you’ve made your selections, tap ‘Add’ to import the clips into the timeline, where you can trim, rearrange, and enhance them further.
The timeline gives you precise control over the flow of your video, letting you see how your clips fit together in real time.
For tips on effective video sequencing and storytelling techniques, resources like VideoMaker offer valuable insights for both beginners and experienced editors.
Step 3: Trim and Split Clips
Trimming clips using the timeline is a straightforward way to refine your video content. By simply dragging the edges of a clip, you can adjust its start or end point with precision, ensuring only the best moments make it into your final edit.
This feature is especially helpful when you need to tighten up scenes or align audio and video perfectly.
If there’s a section in the middle of your clip that you’d like to remove, position the playhead at the exact spot where you want to make the cut.
Tapping the ‘Split’ button divides the clip into two separate parts, allowing you to isolate the unwanted segment. This method gives you granular control over your editing process, making it easy to eliminate mistakes or unnecessary footage.
Once the clip is split, just tap on the portion you want to remove and press ‘Delete.’ The remaining segments will stay intact, ready to be further edited or exported.
For more advanced editing tips, check out resources from Adobe Premiere Pro, which offers detailed tutorials on timeline-based editing workflows.
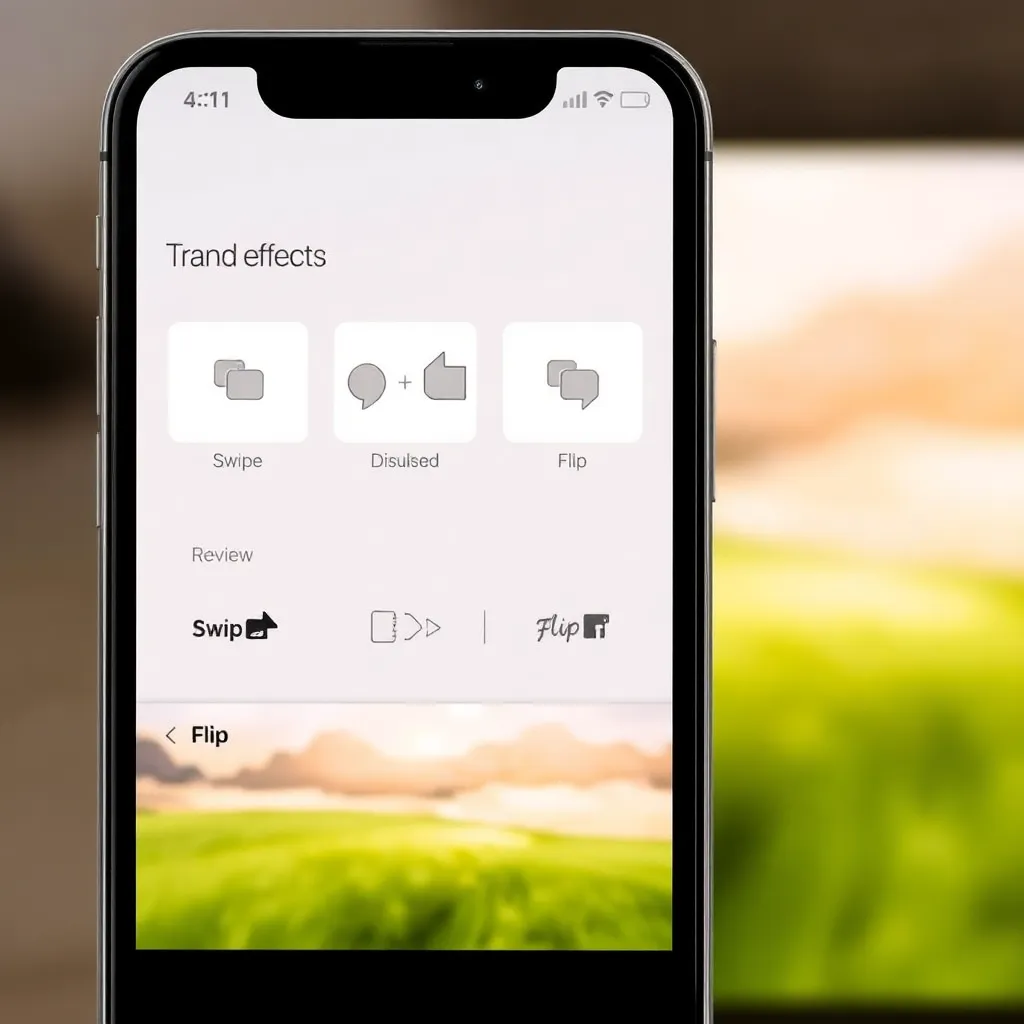
Step 4: Add Transitions and Effects
To make your video look more professional and engaging, consider adding transitions between your clips. Transitions help create a seamless flow, guiding viewers naturally from one scene to the next.
Simply tap the ‘Transition’ button located between two clips in your timeline, then choose from a variety of effects like fade, slide, or zoom.
Each transition can be adjusted for duration and style to match the mood of your content—whether you’re going for a cinematic feel or a fast-paced social media clip.
Beyond transitions, you can further enhance your video using filters, text overlays, and visual effects. Filters can adjust the color tone and atmosphere of your footage, helping maintain a consistent visual style throughout.
Text overlays are great for highlighting key points, introducing segments, or adding captions for accessibility. These features are typically found in the editing menu of most video apps, such as those on iMovie or Adobe Premiere Rush, which offer intuitive tools for mobile and desktop editing.
Visual effects, like blurs, glows, or animated elements, can add creative flair without overwhelming your audience—just remember to use them purposefully.
Overloading your video with effects might distract from your message, so aim for balance. For best practices on video editing techniques, resources like VideoMaker provide helpful tips and tutorials tailored to both beginners and experienced creators.
Step 5: Add Music or Voiceover
To enhance your video’s atmosphere, tap ‘Audio’ in CapCut to access a wide selection of background music from its built-in library or import your own tracks.
Whether you’re aiming for an upbeat vibe or a more emotional tone, having the right soundtrack can make a significant difference.
Using your own music files gives you creative control, ensuring the audio perfectly matches your vision. For guidance on supported file formats and best practices, check out the CapCut Help Center.
If you’d like to narrate your story or provide commentary, simply tap ‘Voiceover’ and record while playing the video. This feature allows for precise synchronization between your spoken words and the visuals, making it ideal for tutorials, vlogs, or personal messages.
Make sure to record in a quiet environment to ensure clarity and minimize background noise.
Once your audio and voiceover are in place, fine-tune the mix by adjusting volume levels for each sound element. Balancing background music with voiceover ensures your narration remains clear without sacrificing the mood set by the music. CapCut’s intuitive audio controls let you drag sliders to find the perfect blend, giving your final product a polished, professional feel.
Step 6: Export Your Video
Once you’ve finished editing your video and are happy with the final cut, it’s time to preview it before exporting. Tap the checkmark or play button in your editing interface to watch the full sequence and ensure transitions, audio levels, and visual effects align with your vision.
This step helps catch any timing issues or unwanted artifacts that might not have been obvious during the editing process.
When you’re ready, click the ‘Export’ button to begin rendering your video. Most editing apps and software will let you choose settings like resolution and frame rate.
For broad compatibility across platforms like YouTube, Instagram, or TikTok, a resolution of 1080p at 30 frames per second (fps) is generally recommended.
This balance ensures high-quality visuals without creating an unnecessarily large file size. You can learn more about optimal video settings from YouTube’s official upload guidelines.
Depending on the length and complexity of your project, exporting may take a few minutes or longer. Be patient and avoid closing the app during this process.
Once completed, the video will be saved to your device’s camera roll or designated folder, ready for sharing. Always double-check the exported file by playing it back outside the editor to confirm it looks and sounds as expected.
Conclusion: Start Creating with Confidence
CapCut has quickly become a go-to video editing tool for creators of all skill levels, especially beginners who want to dive into content creation without a steep learning curve. With its intuitive interface and drag-and-drop functionality, turning raw clips into a sleek final product is easier than ever.
Whether you’re editing a quick social media post or a more detailed vlog, CapCut streamlines the process so you can focus on storytelling.
Its wide range of built-in templates and effects helps users get started right away, making professional-looking edits accessible to everyone.
One of the standout features of CapCut is its smart tools, like auto-beat sync and voice-to-text conversion, which save time and enhance creativity.
These tools allow users to align transitions with music beats or automatically generate captions—perfect for platforms like TikTok and Instagram where engagement moves fast.
As you grow more confident, exploring features like keyframe animation or color grading opens up new creative possibilities. For helpful tutorials and tips, check out CapCut’s official learning resources to build your skills step by step.
The beauty of CapCut lies in its encouragement of experimentation. You don’t need expensive gear or years of experience to make compelling videos.
Start with a simple project—trim a clip, add music, apply a filter—and gradually layer in more advanced techniques. Each edit builds your confidence and sharpens your eye for detail.
Plus, with regular updates and community-driven trends, there’s always something new to try. Platforms like CapCut’s YouTube channel offer inspiration and real-time examples from creators around the world.
Ultimately, video editing with CapCut is about enjoying the process and expressing yourself. The more you use it, the more natural it feels, almost like speaking a visual language. Don’t worry about perfection—focus on progress and fun.
Whether you’re documenting everyday moments or building a personal brand, CapCut gives you the tools to bring your vision to life, one clip at a time.