

Learn how to use Zoom effectively with step-by-step tips for hosting, joining, and managing professional video calls. Boost confidence, improve meeting quality, and avoid common mistakes.
Getting started with Zoom is simple and accessible for users on any device. Begin by visiting the official Zoom website and signing up for a free account, which allows you to host unlimited one-on-one meetings and group sessions up to 40 minutes long. Once registered, you can download the Zoom desktop or mobile app, available for Windows, macOS, iOS, and Android, ensuring seamless connectivity whether you’re at your desk or on the go.
Joining or hosting a meeting requires only a meeting link or ID provided by the organizer. When starting your own session, use the “New Meeting” button to launch instantly or schedule ahead of time with calendar integration options.
Before going live, check your audio and video settings through the test feature in the app to avoid technical hiccups. Zoom also supports virtual backgrounds and touch-up appearance tools, enhancing your visual presence during professional or personal calls.
During a meeting, take advantage of essential features like screen sharing, chat, and recording—ideal for collaboration and follow-up reference. Hosts can manage participants by muting individuals, enabling a waiting room, or assigning co-host roles for larger gatherings.
For educators and remote teams, breakout rooms allow smaller group discussions, fostering engagement and productivity. These tools are accessible directly from the meeting controls, making navigation intuitive even for first-time users.
To ensure privacy and security, always use a meeting password and keep your Zoom application updated. The company regularly releases patches and improvements, which you can learn more about through their support portal. With these foundational steps, you’ll be well-equipped to participate in or lead effective, secure, and engaging video conferences using Zoom.
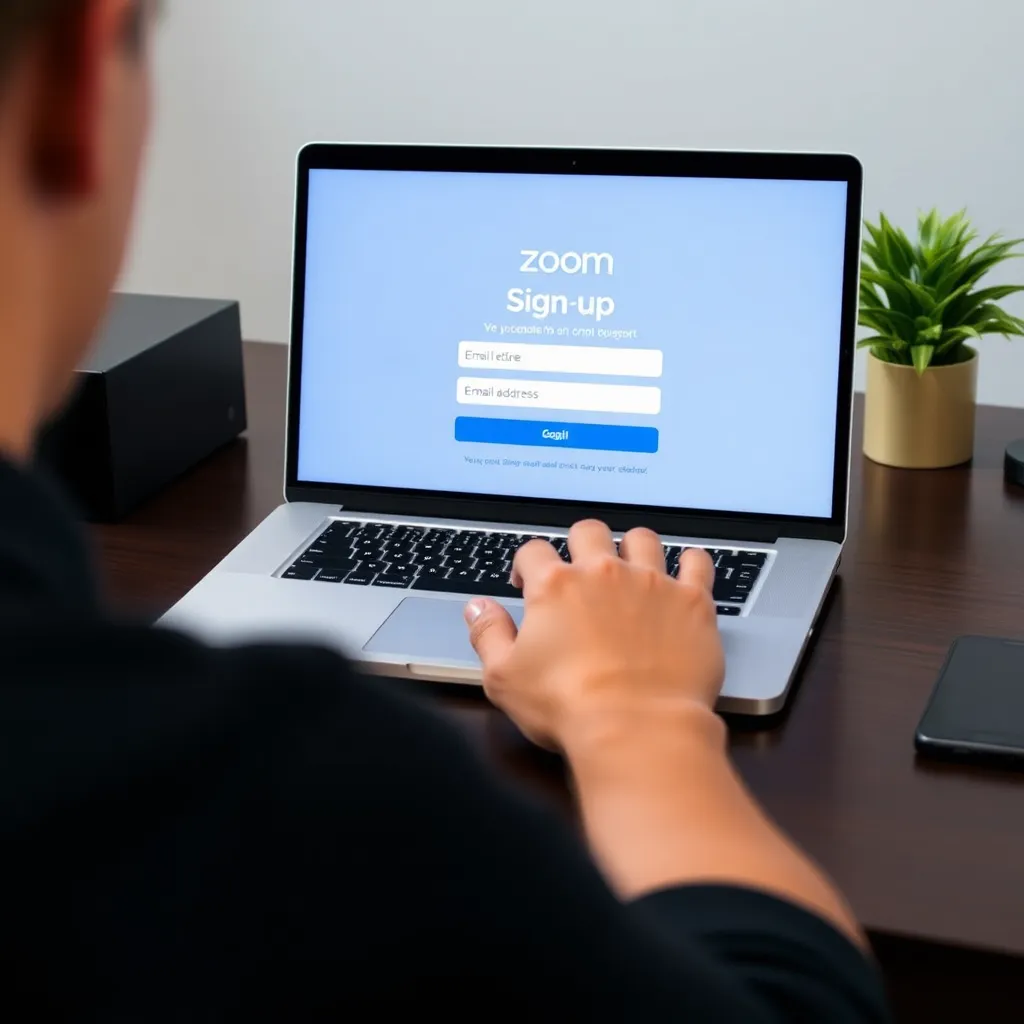
Step 1: Creating Your Zoom Account
To begin using Zoom, navigate to zoom.us and click on the ‘Sign Up Free’ option. You’ll be prompted to enter your email address, after which Zoom will send a verification link to that address.
Confirming this link is essential to activate your account and proceed with the setup process.
Once your email is verified, you can create a secure password and log in to your new Zoom account. The platform guides you through a simple onboarding experience, helping you get familiar with the dashboard and meeting tools.
With the free plan, you can immediately start hosting virtual meetings.
This basic plan supports meetings with up to 100 participants, making it ideal for small teams, online classes, or social gatherings.
However, sessions are limited to 40 minutes when three or more people are present. For extended features, Zoom offers paid plans, but the free version remains a powerful tool for short, frequent interactions. More details about Zoom’s plans are available on the official pricing page.
Step 2: Downloading and Installing the Zoom App
Once you’ve successfully created your Zoom account, the next step is to download the Zoom application to your device.
Visit the official Zoom website and click on the ‘Download’ button located in the top-right corner of the homepage. This will direct you to the downloads page where Zoom provides client software for various platforms.
Select the appropriate version based on your operating system—whether it’s Windows, macOS, or a mobile OS like iOS or Android.
The installation process is straightforward: after downloading the installer, run it and follow the on-screen prompts to complete setup. For mobile users, the app can also be downloaded from the Apple App Store or Google Play Store.
After installation, launch the Zoom application and sign in using the email address and password associated with your newly created account.
Signing in ensures access to all features, including scheduling meetings, joining sessions, and customizing settings. Make sure your internet connection is stable during installation and login to avoid interruptions.
For further assistance with installation or troubleshooting, Zoom offers comprehensive support through its Help Center, which includes step-by-step guides and FAQs tailored to each platform. Once logged in, you’re ready to start exploring Zoom’s tools for video conferencing, screen sharing, and virtual collaboration.
Step 3: Starting or Joining a Meeting
Once you’ve successfully logged into your account, you’ll be directed to the dashboard where you can either start a new meeting or join an existing one.
To begin a session, simply click the ‘New Meeting’ button, which will instantly create a virtual room that others can join. Alternatively, if you’re participating in a meeting hosted by someone else, enter the provided meeting ID in the designated field to gain access.
It’s essential to ensure that your microphone and camera are properly connected and functioning before joining, as technical issues can disrupt the flow of communication.
Before entering a meeting, it’s a good practice to verify your audio and video settings. You can do this by navigating to the Settings menu and selecting the Audio tab, where you’ll find options to test your microphone and speaker output.
Most platforms offer a quick audio check feature that plays back your voice or a test tone to confirm everything is working correctly.
Ensuring these components are functional not only improves your experience but also shows respect for other participants’ time.
For more detailed guidance on troubleshooting audio and video issues, resources like Google Meet Help or Zoom Support provide comprehensive FAQs and step-by-step instructions tailored to their platforms.
These official support pages are regularly updated and offer reliable solutions for common connectivity problems. Taking a few moments to prepare can make a significant difference in the quality and professionalism of your virtual meetings.
Step 4: Navigating Basic In-Meeting Controls
During a video call, it’s important to become familiar with the core tools available in most conferencing platforms. The Mute/Unmute button allows you to control your microphone, helping to minimize background noise and maintain meeting clarity.
Similarly, the Start/Stop Video option lets you toggle your camera on or off, giving you control over your visual presence. Always locate the Leave or End Meeting buttons so you can exit the call properly—especially important to avoid accidental disruptions.
These basic controls are typically found at the bottom of the screen and are essential for smooth participation.
To enhance communication without interrupting speakers, use the Chat feature to send text messages to individuals or the entire group. This is useful for sharing links, asking questions, or providing quick feedback. Meanwhile, clicking the Participants icon displays a list of everyone in the meeting, often showing their status and connection quality.
For hosts, this panel offers additional capabilities such as managing attendee permissions, manually muting participants, or removing users if necessary. Being able to monitor attendance helps maintain order and engagement throughout the session.
Hosts also have the ability to assign co-hosts, delegating responsibilities like admitting guests from the waiting room or managing screen sharing. This feature is particularly helpful in larger meetings or webinars where multitasking is required. Platforms like Zoom and Google Meet offer intuitive interfaces for these functions, ensuring that even first-time users can navigate them with ease.
Understanding these roles and tools ahead of time can significantly improve the flow and professionalism of any virtual gathering.

Step 5: Enhancing Your Experience with Advanced Features
Once you’ve become familiar with the basic functions of your video conferencing platform, it’s worth exploring advanced features that can enhance your meetings.
One of the most commonly used tools is screen sharing—simply click the “Share Screen” button to display documents, presentations, or websites in real time. This feature is especially helpful during team collaborations or client presentations, allowing everyone to follow along seamlessly. For detailed instructions on how to share your screen effectively, visit Google Meet Help or Microsoft Teams Support.
Virtual backgrounds are another useful feature, particularly when joining calls from a personal or cluttered space. They allow you to maintain privacy while presenting a professional appearance. Most platforms offer built-in background options or let you upload custom images.
However, ensure your device meets the system requirements for this feature to avoid performance issues. You can learn more about setting up virtual backgrounds on Zoom’s official support page.
Recording meetings can be a valuable tool for documentation and review, especially for training sessions, project updates, or complex discussions. When enabled, recordings are typically saved to the cloud or locally, depending on your settings.
Always inform participants before recording to respect privacy and comply with organizational policies. For guidance on managing recorded meetings, refer to resources like Slack Help Center or your platform’s official documentation.
Conclusion: Building Confidence in Your Zoom Skills
Getting comfortable with Zoom takes time, but with consistent practice, its interface and features become intuitive. From joining meetings to using the mute button and virtual background options, users gradually build confidence in navigating the platform efficiently.
Many find that after a few sessions, tasks like sharing screens or switching between gallery and speaker view feel automatic, allowing them to focus more on the conversation than the technology. Resources like the Zoom Support Center offer helpful guides for reinforcing these skills.
For remote workers and students alike, mastering Zoom is essential for effective digital collaboration. Features such as breakout rooms, chat functions, and meeting recordings enhance productivity and accessibility during virtual sessions.
Learning how to use these tools appropriately not only improves personal performance but also contributes to smoother group dynamics. The official Zoom website provides tutorials tailored to different user needs, from basic participation to hosting large webinars.
Equally important is maintaining professionalism during video calls, which includes having proper lighting, minimizing background noise, and dressing appropriately.
These small details can significantly impact how one is perceived in both academic and workplace settings. Practicing good virtual etiquette helps build credibility and ensures clear communication, making each interaction more meaningful and productive over time.
Beyond work and education, Zoom plays a vital role in maintaining personal connections across distances. Whether celebrating birthdays, hosting family gatherings, or catching up with friends, the platform enables face-to-face interaction regardless of location.
As users become more adept, these moments become more seamless and enjoyable, proving that mastering Zoom enriches both professional and personal life.